
Find Your Main Water Shutoff Valve Before You Need It (Cedar Rapids Guide)
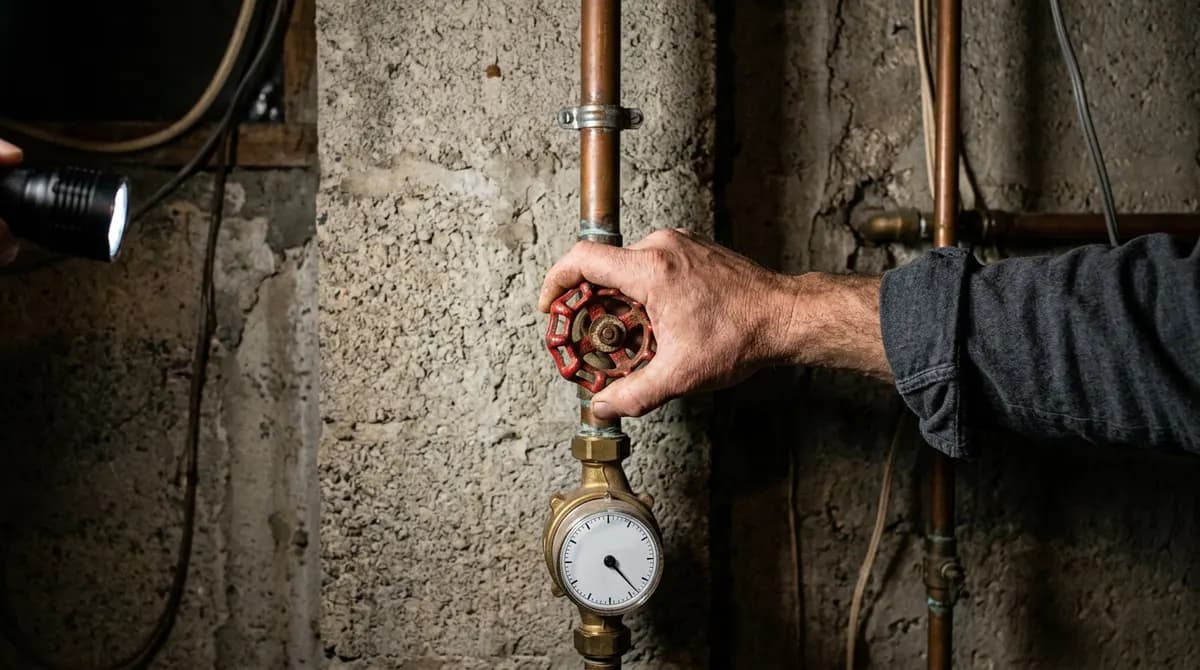
In every water emergency we respond to, one number decides how bad it gets: how many minutes passed between “water is flowing” and “water is off.” A burst supply line moves 100+ gallons an hour. The homeowners who keep that to a wet floor instead of a gutted basement are the ones who knew where their main shutoff valve was before they needed it. This guide shows you where to find yours, how to operate it, and what to do when it won't turn — so the day you need this knowledge, you already have it.
Where to Find It, by Home Type
Homes with basements (most of Cedar Rapids)
Follow the water meter. The city service line comes through the front foundation wall — the side facing the street — and the main valve sits on that pipe, usually just before or after the meter. Common spots: the utility corner near the water heater and furnace, behind the stairs, or boxed into a finished wall with an access panel. In pre-1970 homes (Czech Village, Bever Park, Mound View), look low on the wall; the valve may be an older round-handle gate style.
Slab-on-grade homes
No basement means the valve is usually where the line first surfaces: the garage (on the wall shared with the house), a utility or laundry closet, or occasionally under the kitchen sink. Newer Marion and Hiawatha subdivisions often use a clearly labeled lever valve in the garage.
Crawl-space homes
Check just inside the crawl access on the street-facing side, or in a first-floor closet directly above where the line enters. If the only valve is deep in the crawl, consider having a plumber add an accessible one upstairs — crawling under a house during an active flood is nobody's plan A.
Condos and apartments
Units often have their own shutoff in a utility closet or behind an access panel near the water heater — but some buildings only have floor- or building-level valves. Find out from management before an emergency; during one, call them while you contain what you can.
How to Operate It
- Round wheel handle (gate valve): turn clockwise until it stops — typically 2-4 full turns. Snug is enough; cranking hard can snap an old stem.
- Lever handle (ball valve): quarter turn so the lever sits across the pipe instead of along it. Done.
- After closing, open the lowest faucet in the house (basement laundry sink is ideal) to drain pressure and confirm the valve actually holds.
When the Valve Won't Turn
Gate valves that haven't moved in twenty years seize — we see it constantly in older Cedar Rapids housing. Do not put a pipe wrench on a seized wheel; a snapped stem converts your emergency into a bigger one. Instead:
- Use the curb stop— the city's valve in the buried box near the street. A meter key from any hardware store operates it; keep one in the garage.
- Call Cedar Rapids Utilities (319-286-5900) for an emergency shutoff if you don't have a key.
- Then replace the failed valve.A main shutoff that doesn't work is a known defect standing between you and every future plumbing failure.
The Other Valves Worth Knowing
For single-fixture failures, the local stop is faster than killing water to the whole house:
- Toilets: oval handle on the wall line below the tank
- Sinks: pair of stops under the basin
- Washing machine: two valves (or one lever) behind the machine — the pair we cover in the washer hose guide
- Water heater: cold-inlet valve on top of the tank — details in the water heater failure guide
- Outdoor spigots: interior stop valves, usually in the basement ceiling joists near the wall the spigot exits — the freeze-season valve pair in our frozen pipes guide
The 5-Minute Family Drill
- Walk everyone in the house to the main valve once
- Zip-tie a laminated tag to the pipe: “MAIN WATER SHUTOFF”
- Keep a flashlight within reach of it — failures don't schedule around daylight
- Turn the valve once a year (water heater flush day is a good pairing) so it never seizes
- Clear the boxes that always seem to migrate in front of it
After the Water Is Off
Shutting the valve stops the source — it doesn't un-soak the drywall, carpet pad, and subfloor the water already reached. Photograph everything for insurance, then deal with the moisture properly: the first 24 hours determine most of the final cost, and saturated materials that stay wet past 48 hours start growing mold. Extraction and metered drying — the water extraction and structural drying phases — are what turn a stopped leak into a finished recovery.